Installing a water meter may seem like a highly technical task, but with the right methods and steps, you can handle it calmly, whether you’re replacing an old meter or adding a sub-meter. This article will provide you with a step-by-step guide from start to finish, covering general steps, special types of meters (such as prepaid and second meters), and related facilities (like meter boxes and brackets), meeting all your search needs.
Preparation Before Installing a Water Meter
Before you start, adequate preparation is half the battle and can save you a lot of time.
1.How Long Does It Take to Install a Water Meter?
For a user with some DIY skills, replacing a standard household water meter typically takes 30 minutes to 1 hour. If it’s your first time installing a second meter or a prepaid meter, requiring pipe cutting and new fittings, the time may extend to 1.5 to 2 hours. Professional plumbers can usually complete a standard replacement within 30 minutes.
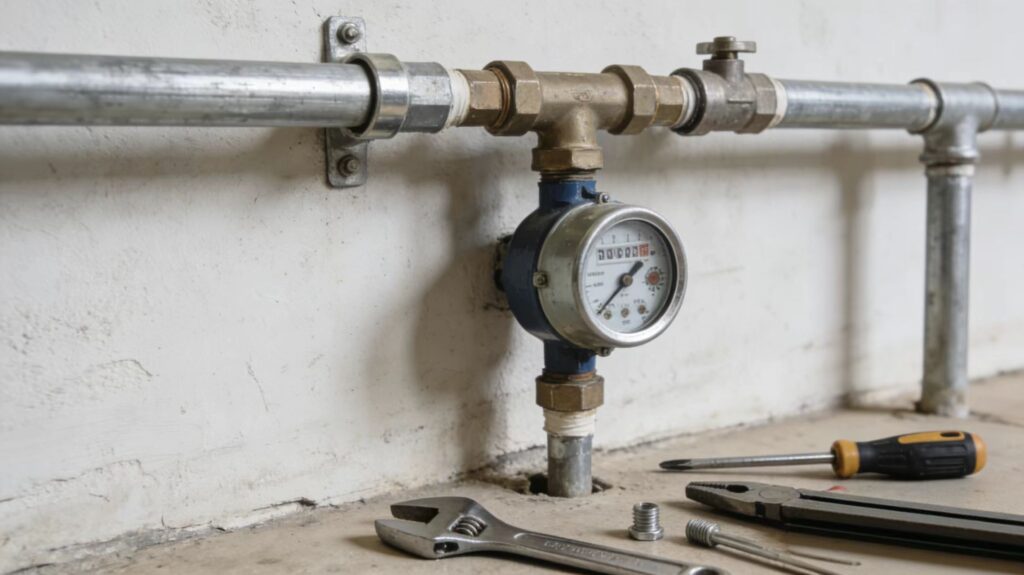
2.Essential Tools and Materials List
Before you begin, please prepare the following items:
- Tools: Pipe wrench, adjustable spanner, PVC pipe cutter (or metal hacksaw), spirit level, PTFE tape, sealant, marker pen.
- Materials: New water meter, pipes and fittings of the correct size, sealing washers, pipe clips (brackets), meter box (if needed).
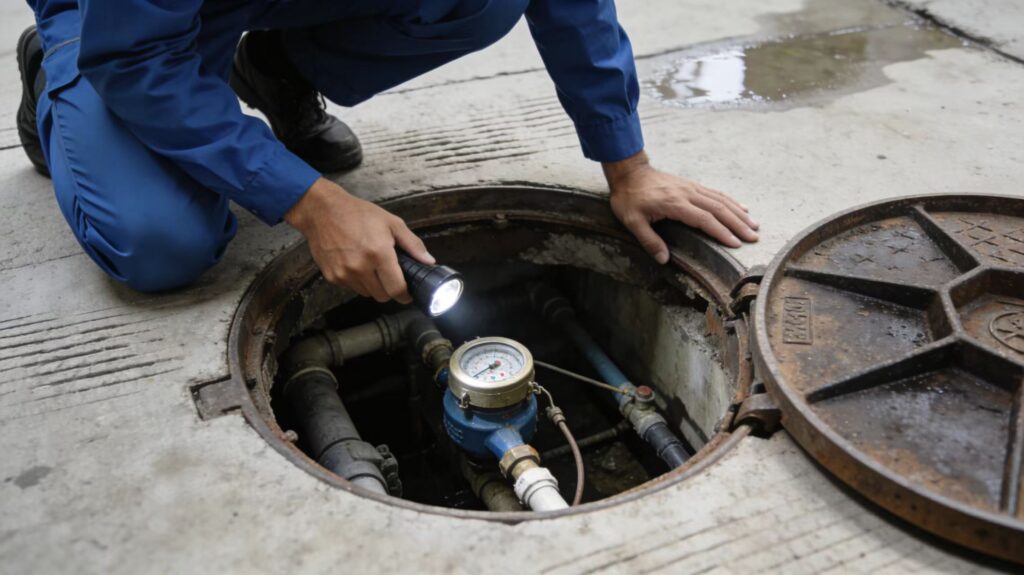
3. Safety Precautions and the Importance of Contacting Your Water Company
- Turn Off the Main Valve: Be sure to locate and turn off the main indoor stop valve. If replacing the main water meter, you may need to contact your local water company (e.g., Thames Water in the UK) to shut off the valve on the public main.
- Professional Advice: In places like the UK or South Africa, modifying the water meter on the main supply line may be illegal. It is advisable to consult your local water company before installation to confirm if an application is needed or if they must perform the work.
General Steps for Installing a Water Meter
Whether it’s a mechanical or smart meter, the basic installation logic is the same. Please follow these steps carefully:
1.Step One: Turn Off the Main Valve and Drain the Pipes
After turning off the main valve, open the lowest tap in the house (e.g., kitchen sink) and the highest tap (e.g., upstairs bathroom) to drain any remaining water from the pipes. This prevents water flow when you cut the pipe.
2.Step Two: Cut the Pipe and Install Fittings
Cut the pipe at your chosen location. Ensure the cut is square and free of burrs.
If you have no leaks but the meter still turns slowly, it could be due to air trapped in the pipes causing pressure fluctuations (water hammer). Try opening a faucet briefly to release trapped air. You might also need a plumber to install a check valve (non-return valve) to prevent backflow from causing the meter to spin.
- For metal pipes, you may need to cut threads.
- For PPR/PVC pipes, use a fusion tool or to connect them. First, install male-threaded adapters or union connectors at both ends where the meter will go. This makes future meter replacement much easier.
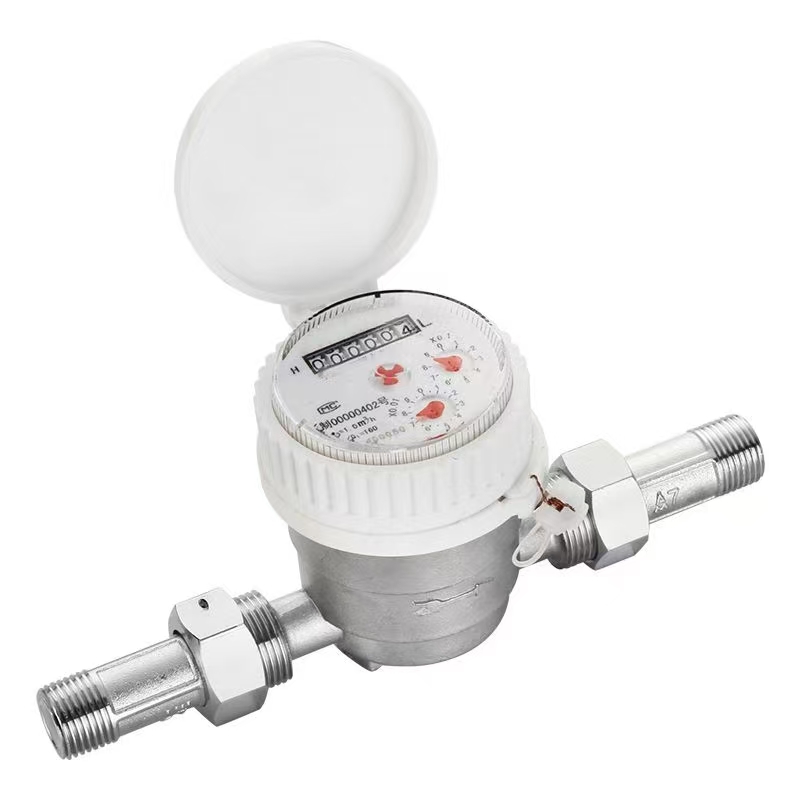
3. Step Three: Install the Water Meter (Pay Attention to Flow Direction)
This is the most critical step. Check the arrow on the meter dial; it must point exactly in the direction of water flow.
- Clean the threads of the fittings. Wrap enough PTFE tape (about 15-20 turns) clockwise around the male threads.
- Hand-tighten the nuts from the meter onto the union connectors, ensuring the sealing washers are seated correctly.
- Use a wrench to tighten moderately. Do not overtighten, as this can crack the meter body or nuts. Use a spirit level to ensure the meter is installed horizontally.
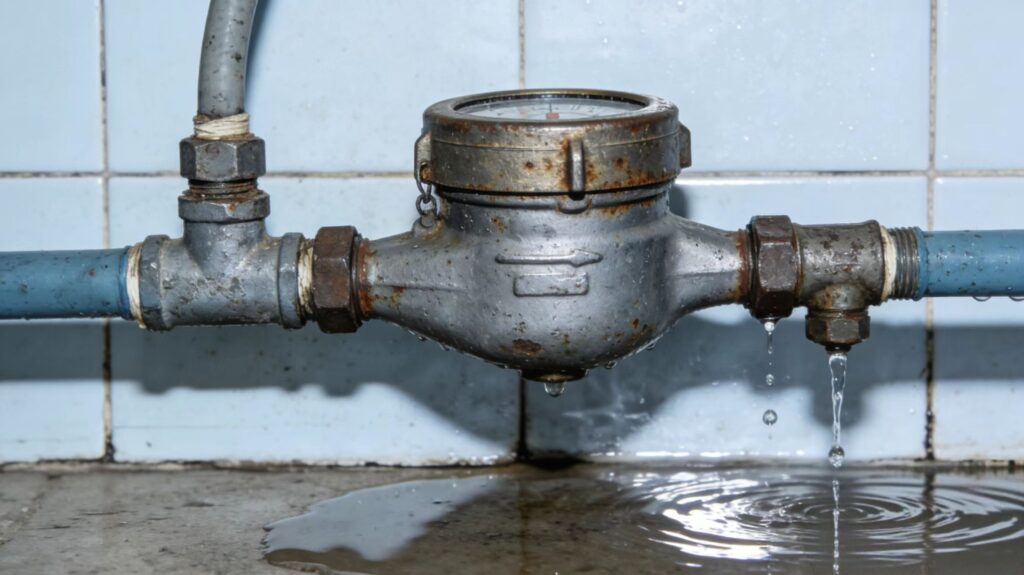
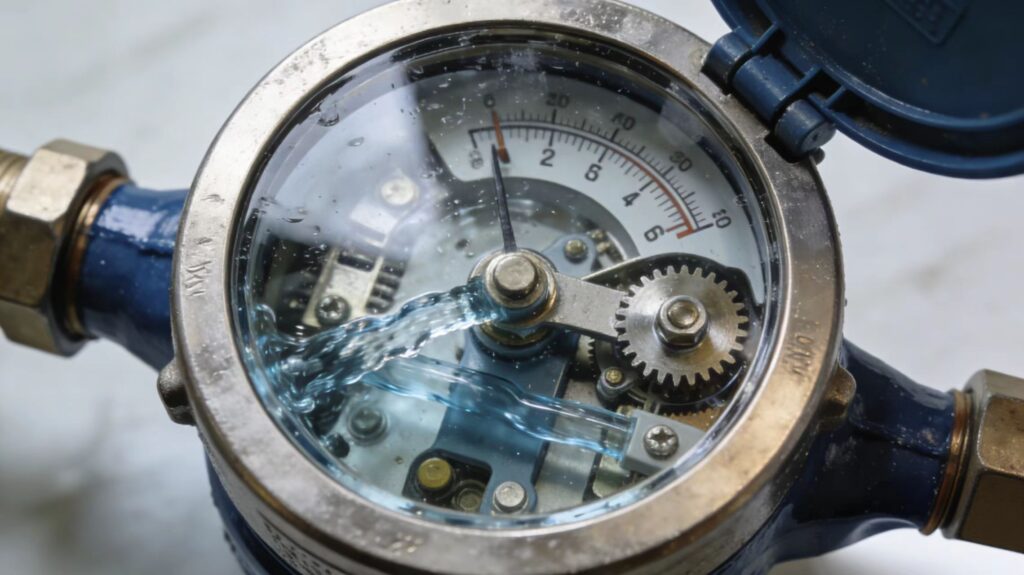
4. Step Four: Check for Leaks and Restore Water Supply
Slowly open the main valve and inspect all meter connections for any leaks.
- If you see a minor leak, try tightening the connection another 1/4 turn.
- If there are no leaks, open taps one by one to release trapped air from the pipes until the water flows steadily without sputtering.
Installation Methods for Special Types of Water Meters
Besides standard mechanical meters, you might need to install these specific types:
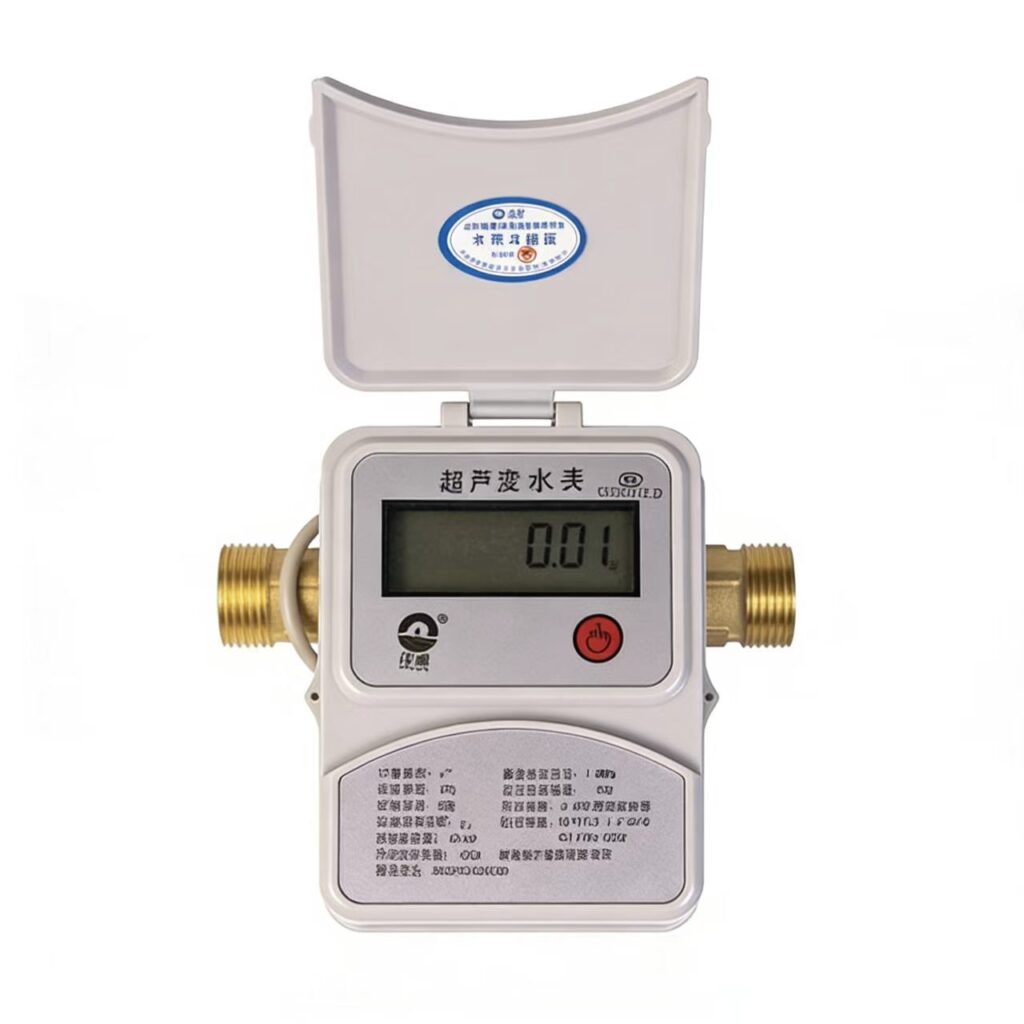
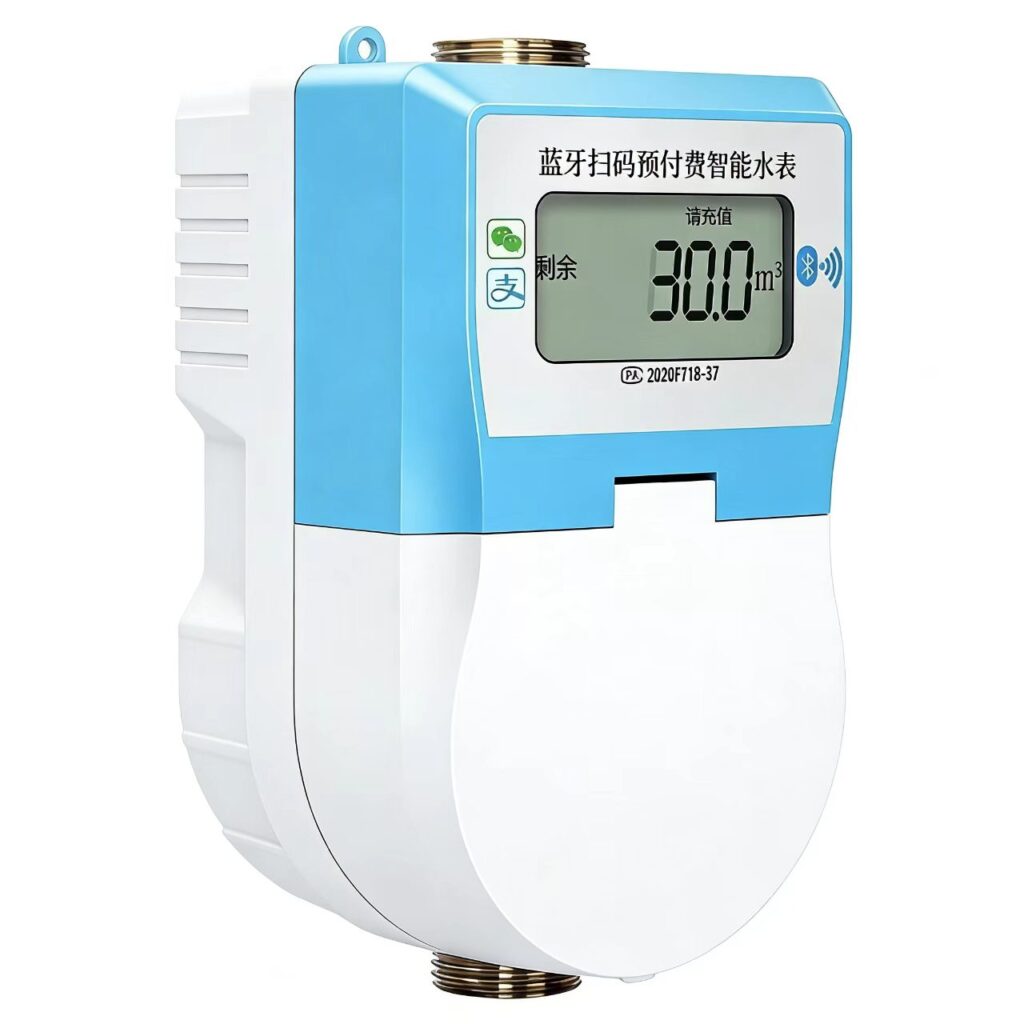
1.How to Install a Prepaid Water Meter
Prepaid meters (usually with a display screen and card reader) are installed similarly to meters, but with these extra considerations:
- Protect Electronics: Avoid knocking or dropping the meter during installation to protect the electronic display and any antenna.
- Battery Installation: Confirm the battery is installed or the power is connected before mounting.
- Data Initialization: After installation, the meter needs to be activated and initialized by personnel or by following the manual instructions (e.g., swiping an activation card).
- Tamper-Proof Features: Pay attention to tamper-evident seals on the meter body. Apply the supplied seals once installation is complete.
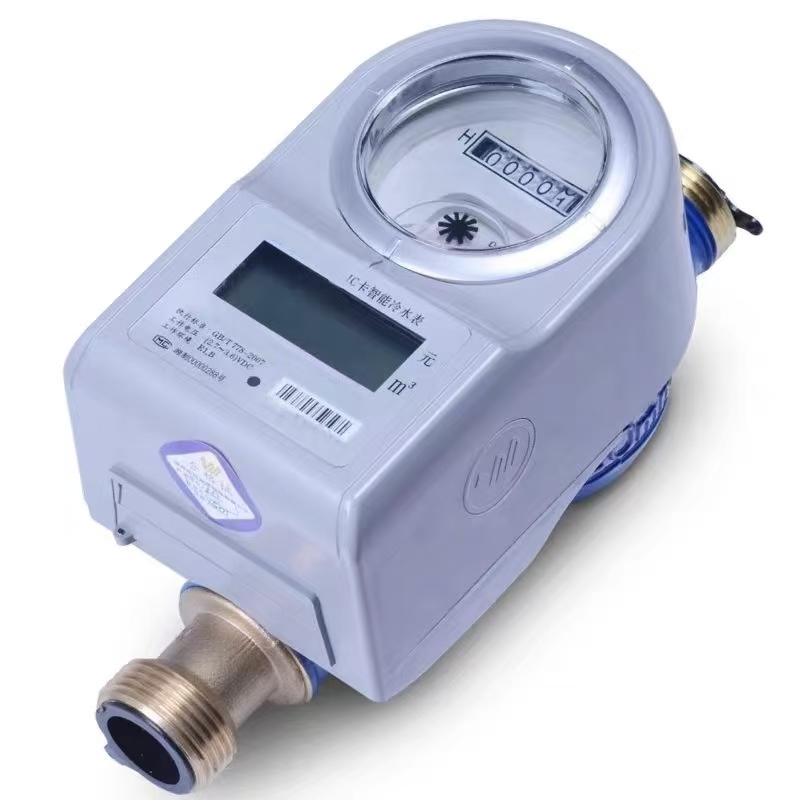
2.How to Install a IC Card Water Meter
IC card water meters are a common type of prepaid meter.
- Installation Direction: strictly follow the arrow direction.
- Card Reader Orientation: Ensure the card swipe area faces outward and is easily accessible for the user.
- Filter Screen: It is highly recommended to install a filter/strainer upstream (inlet side) of the meter to prevent debris from clogging the precision valve inside the meter.
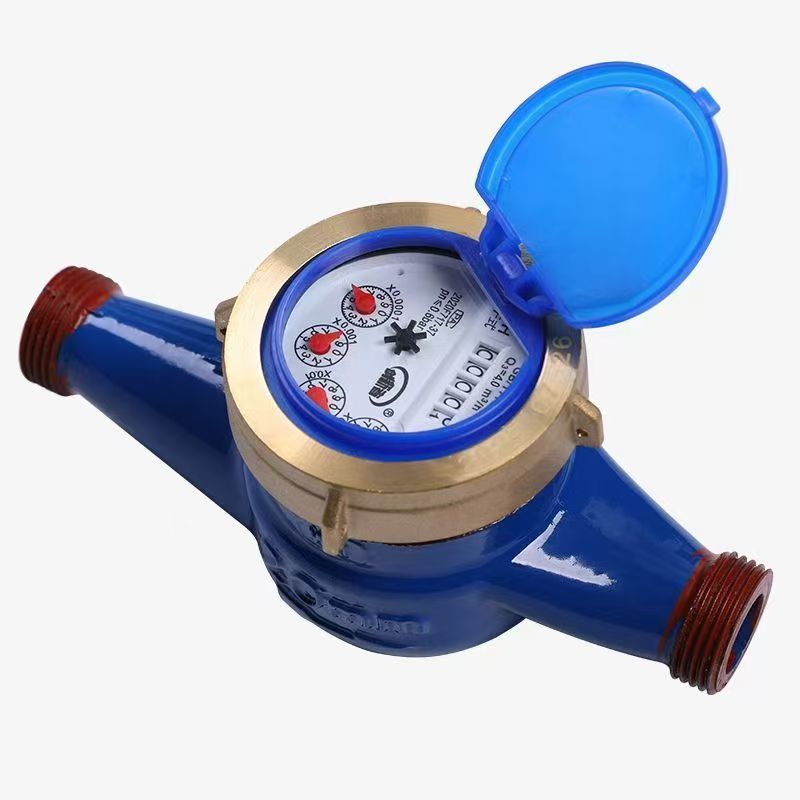
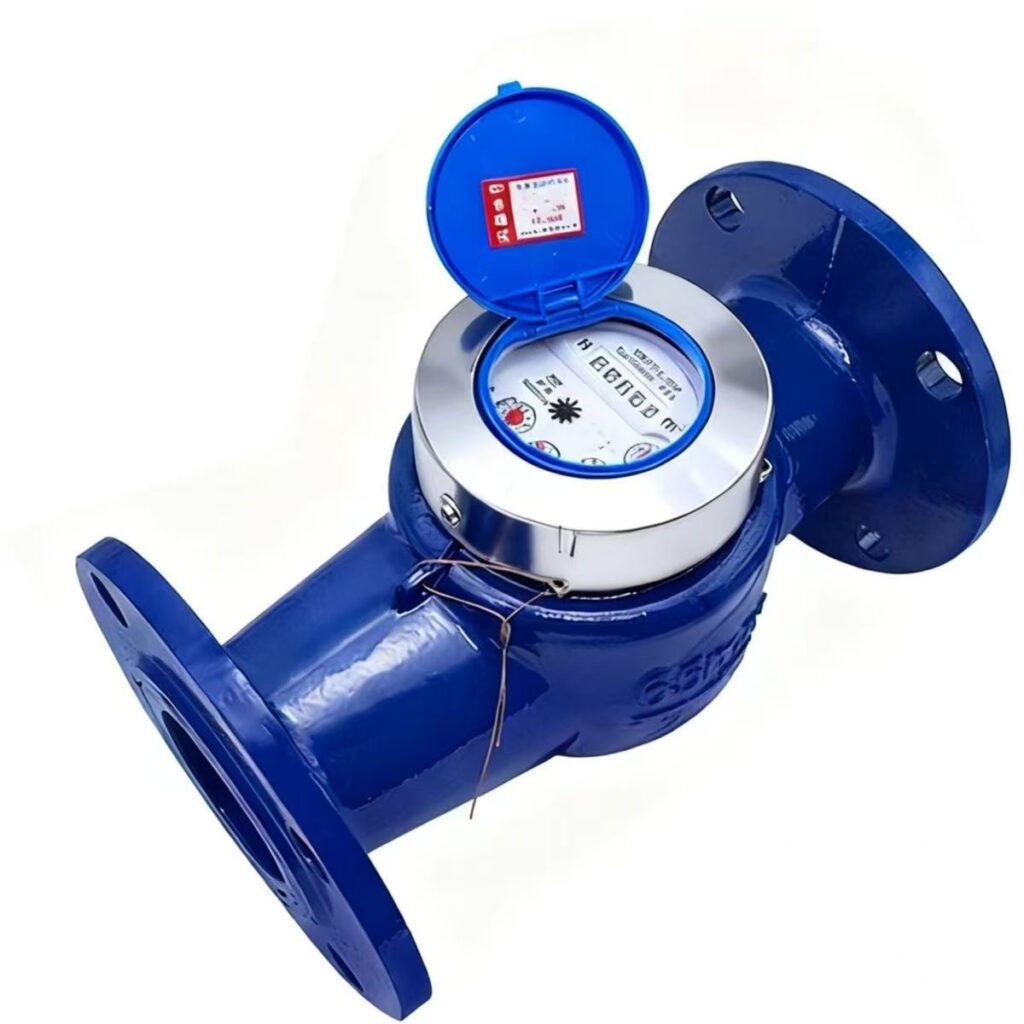
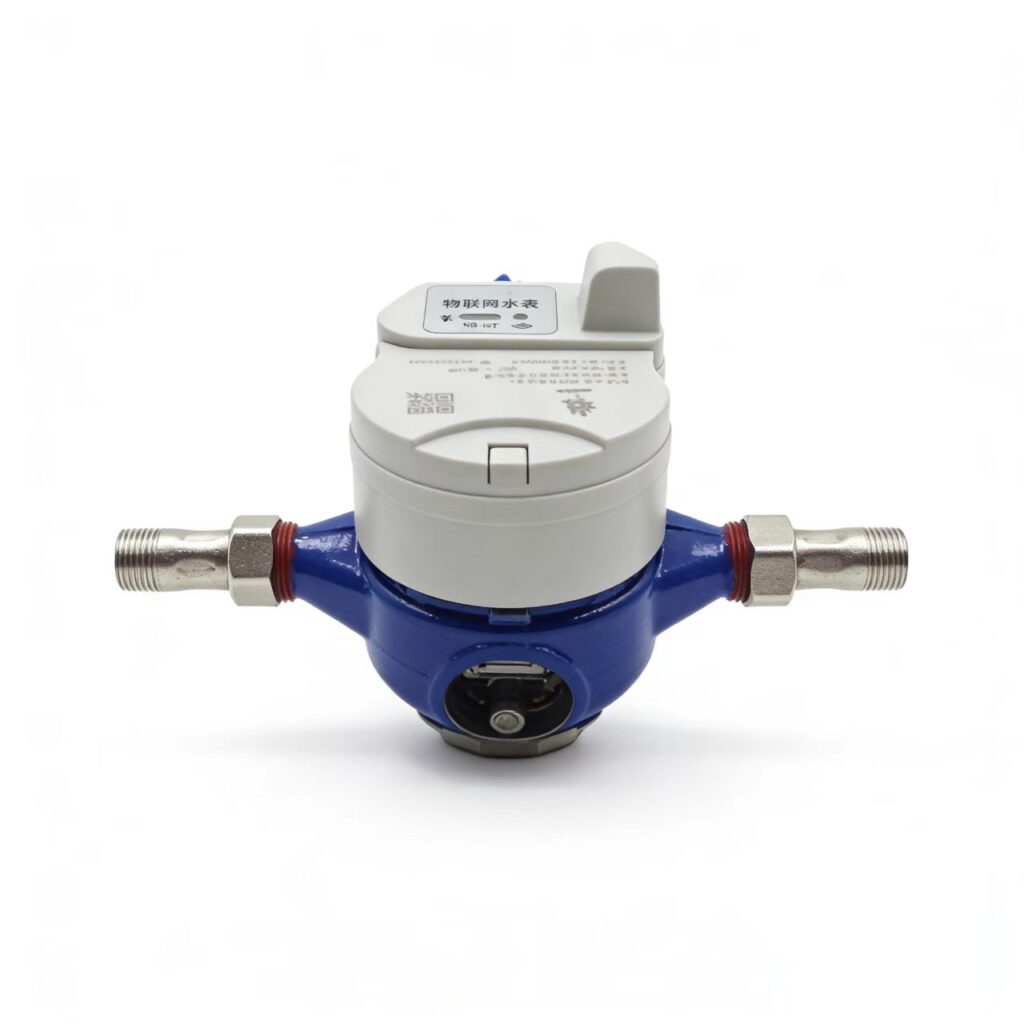
3. How to Install a Second Water Meter (Sub-meter)
Installing a second meter is often used to monitor garden water usage, meter individual rooms in a rental property, etc.
- Choose the Location: Install it at the beginning of the branch line. For example, install it on the branch pipe leading from the main line to the garden.
- Independent Valves: It’s advisable to install isolation valves (ball valves) both before and after the sub-meter. This allows for future maintenance or replacement of the sub-meter without shutting off water to the entire property.
- Size Matching: Ensure the diameter of the sub-meter matches the branch pipe diameter (usually 15mm or 20mm).
Conclusion
The core principles of installing a water meter are correct direction, good sealing, and secure connections. Whether you’re installing a prepaid meter or a second meter, the guidelines above apply. If you are unsure about your DIY skills, or if the work involves connection to the public water main, it’s best to hire a qualified plumber to ensure compliance and avoid future disputes.
Authoritative References and Further Reading
【1】 UK Water Regulations Advisory Scheme (WRAS)
- Provides UK drinking water quality standards and specifications for water supply fittings.
【2】 Thames Water Official Website – Metering Advice
- Official guidance on applying for and installing water meters from Thames Water.
【3】Johannesburg Water – Customer Information
- Information from Johannesburg Water regarding meter installation, maintenance, and certified plumbers.